Inspiration
For my first Discovery Time, I wanted to take a look at creating a looping GIF in Adobe Animate.
A few months back, I discovered a lovely little project on SkillShare, which gave me the inspiration I needed to kick things off. As with all GIFs, I wanted to keep it short and sweet, focussing on seamless repetition rather than anything too outlandish.
It’s a great course and has some useful information; however, I didn’t follow it to the letter because it’s animated in After Effects and Photoshop.
The Planning
A few months ago I thought it might be nice to do 2 dancing GIFs. The first of which being footage of my very pregnant partner, then the same dance a little while later but she’s holding our newborn baby.
So I asked her if she’d let me take some reference footage of her doing some dances, then I took a small clip that I thought looked good.
With her permission, here it is (try to ignore our dog, Eddie).
With a solid foundation for timings and movements, the first thing I noticed was that our baby bump is the centre of gravity driving a lot of the movements as it creates a subtle figure 8.
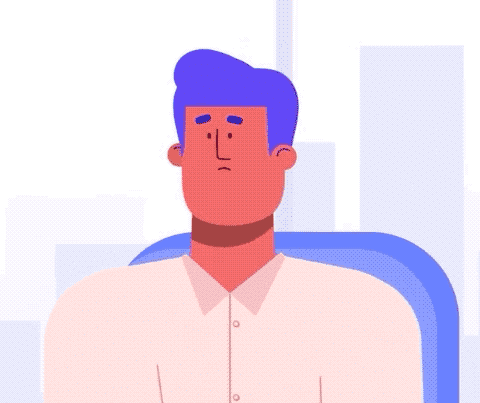
So before I began animating, I needed a character design. Taking a look at the plethora of inspirational videos that we share internally, I decided the below was a good starting point.
Initial Concept & Colours
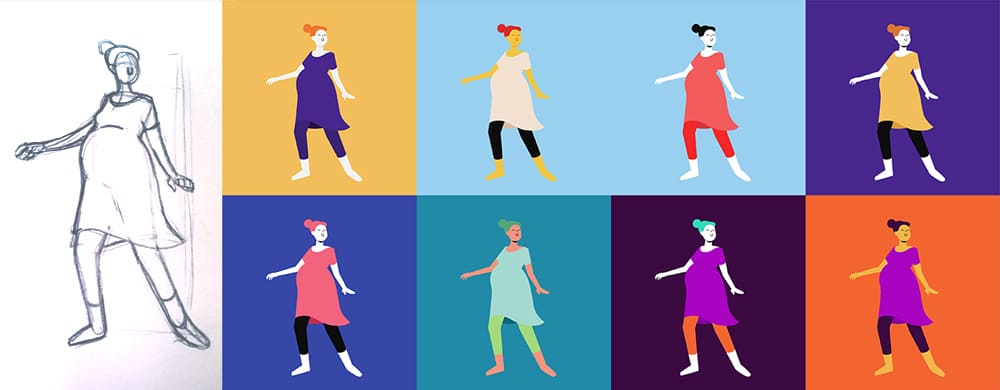
Once the ball was rolling and I knew what I wanted to create, I sketched up a character based on the first frame of my animation in Adobe Illustrator. Only when I was happy with my design, I took it into Adobe Colour and picked out a selection of nice palettes that I felt worked well.
Now To Animate!
I decided to do my rough pass in Animate as I thought it’d help to learn the program a little. It did, but I think RoughAnimator would have been quicker.
I really liked the timing from the reference video, which I calculated at around 14 frames in total. I also knew that the two main keyframes were going to be mirror images of each other, with the subject’s feet locked to the floor. With this in mind, I placed them on the stage and started the first rough pass.
Keeping The Focus
As I mentioned in the beginning, I wanted the baby bump to be the focal point of this entire animation. It drives the movement and timing of everything else, so getting that motion right was paramount.
Planning The Motion
One of the first things you’ll notice is how I made the spacing quite harsh; with quick movements in the middle and a softer deceleration at either side.
Once I was happy that the core of the animation was right, I moved onto animating everything else; starting with the legs, the upper body, the head and finally the arms. It was worth always keeping in mind that all the motion stemmed from the torso, so that’s where my main focus was.
Moving Into Adobe Animate
The rest of the day was spent diving into the world of Animate; working out the best route to achieve the animation I’d planned for. This was a steep learning curve; however, with some serious perseverance and a lot of coffee, I was on the right path.
With a keen eye on the limitations of the day’s timings, I was soon moving into the final pass and the end of my first Discovery Time.
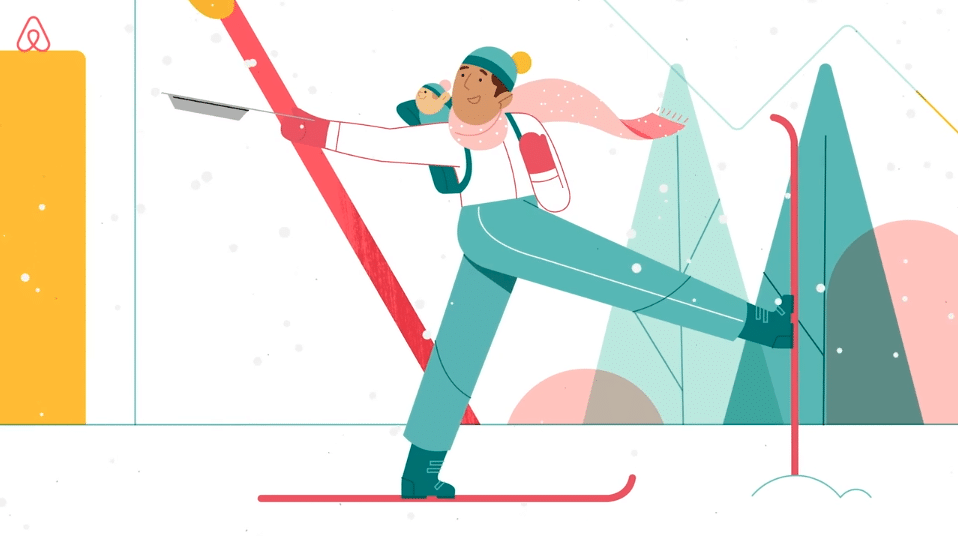
The Final Result