Inspiration
Luckily I already had an idea for what I wanted to create. As we have a mailer due regarding “Plant For The Planet”, I wanted to create an animated looping video / GIF to convey the message that ‘Good Ideas don’t grow on trees, but from Good Ideas, new trees can grow’.
The first hour or so was spent looking for some inspiration, and I finally settled on this concept: https://www.instagram.com/p/BvlVFPBn7ET/?igshid=7oq2blr5s0ds. However, I wasn’t a fan of how basic it looked, even though it did what it said on the tin.
I finally settled on a style, which came from a unique 3D artist called “Southern Shotty”.

Modelling
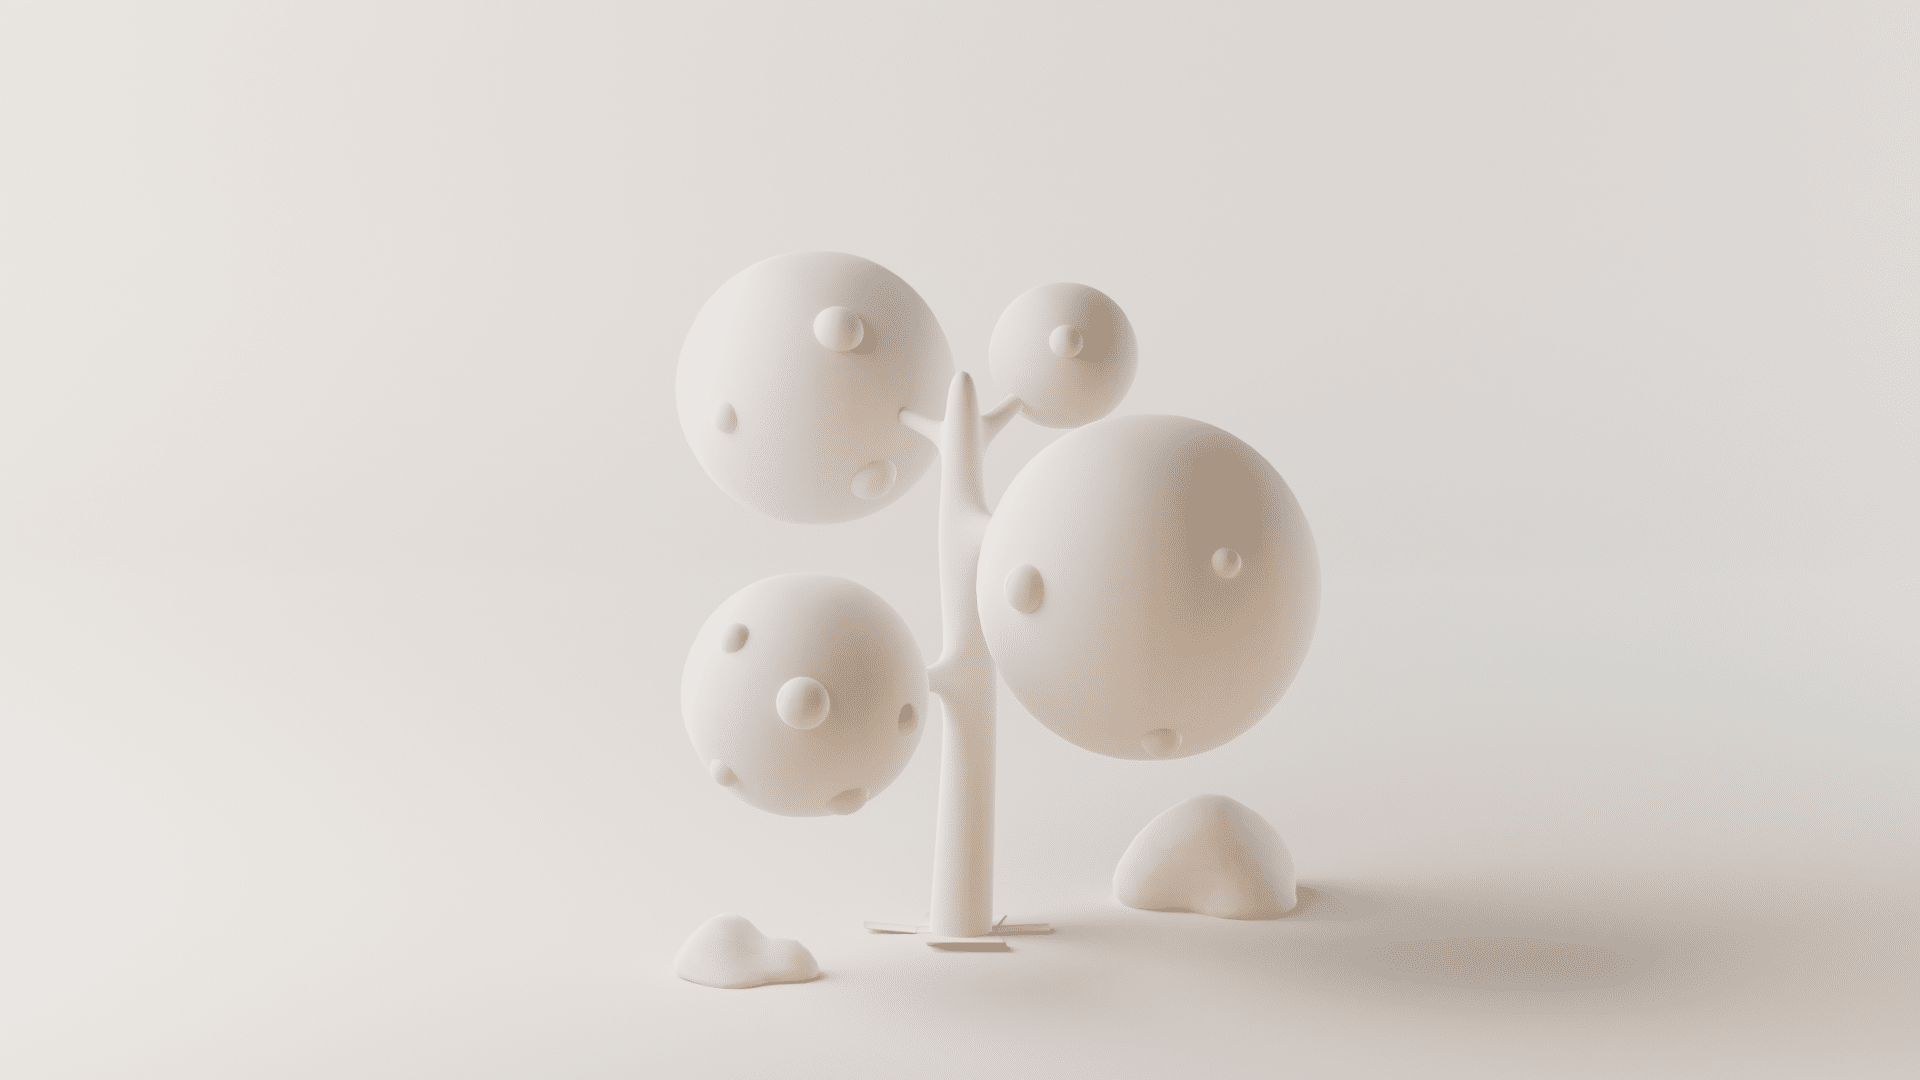
Although I should do more sketching and planning, I like to get stuck in. So I jumped into Blender and started modelling a simple scene, as shown below.
With the time constraint in mind, I wanted to keep the scene as basic as possible. The tree was made from a cylinder with extruded faces to make the branches, the leaves were just spheres, and the rocks and “fruit” were made from Meta-balls.
The main thing I needed to look out for what that everything was modelled to scale, and the tree that would grow from the ‘good idea’ was in an exact location at the first and last frame.
This is easier than it sounds as you simply have to make sure a known amount offsets everything; in this case, 5m to the left.
Lighting
Although this is something a lot of people do last, I like to get an idea of how the scene will look even before materials and textures have been applied. There are plenty of superb lighting tutorials out there, but if you want to know more take a look at this: https://www.youtube.com/watch?v=5UCc3Z_-ibs
I wanted to go for as close to a photorealistic look as possible, with a little warmth from the orange ‘fill light’ (on the bottom right).
An Early Export
At this point, I wasn’t sure if I liked the scene sitting on a background that was controlled within Blender. So as a quick test, I exported a version of the scene with an alpha map. This allowed me to edit the background colours in After Effects or Photoshop easily. Although it was on-brand, I eventually decided to let Blender control how the background looked.

Materials & Texturing
For the materials, I ended up going with a clay ‘stop-motion’ effect. This was achieved by animating the bump and displacement maps when the objects moved, to give the effect that they were moulded by hand.

Final Animation
The rest of the afternoon was spent animating…. and changing, and animating, and changing… Motion graph editing is fairly new to me, so this took quite a while. But finally, I was happy and rendered the whole lot at 12 frames / second to give it the stop-motion feel I was after.
Future Work
I would have loved to have added a few leaves dropping, or some further movement to the trees, but overall I’m delighted with what I was able to make given the time constraints. It was a great exercise in taking a concept and sticking to it, to create something not only visually appealing but to support a solid future marketing idea.